By the time a vehicle reaches the loading point, most of the meaningful preparation should already be complete. Its condition should have been documented, loose items dealt with, mechanical issues identified, and any carrier or destination requirements confirmed beforehand. If any of these steps are missed, there can be delays or even disputes when the vehicle reaches destination, as well as a heightened risk of damage in transit. In this article we look at the sequence of checks that shape how containerised car transport is handled from origin to arrival.

Step One: Confirm The Shipment Requirements
The first step is to confirm exactly what kind of shipment is being arranged, because automotive logistics requirements can change depending on the container setup, the destination, and the condition of the vehicle itself. A vehicle going into a sole-use container may be handled differently from one moving in a shared container, where space is tighter and restrictions on loose contents are often stricter. The same applies to operable and non-operable vehicles. A running vehicle can usually be driven into position, while a non-runner may need winching equipment or a forklift, accessible towing points, and advance notice to the loading team. Destination and carrier rules also need to be checked at this stage before any physical preparation begins.
Step Two: Record The Vehicle’s Condition Before Handling
Once the shipment requirements are clear, the vehicle’s handover condition needs to be documented carefully. This should be done before cleaning, loading, or any other handling that might alter the way the vehicle looks on inspection. The aim is to create a clear record of what was already present at origin, so there is a reliable reference if questions arise later.
The record should cover the exterior panels, bumpers, mirrors, glass, wheels, tyres, and visible interior condition. Existing scratches, dents, scuffs, cracked light lenses, chipped windscreens, or damaged trim should be photographed clearly. It is also worth recording the odometer reading and noting any dashboard warning lights or known faults. For example, a cracked mirror housing or a bumper scuff should be logged as pre-existing damage, while a weak battery should also be noted because it may affect loading even though it is not transport damage.
Step Three: Remove Or Control Anything That Is Not Fixed In Place
Before the vehicle is containerised, anything loose inside it or attached to it needs to be removed, secured, or declared in line with the shipment rules. This includes obvious items such as charging cables and aftermarket parts, but also smaller accessories that are easy to overlook, such as removable mats, fittings, or spare keys. The reason for this is to reduce the risk of damage in transit. A loose charging cable can slide across the cabin and mark the interior trim, a detachable roof bar can affect clearance, keys left casually in the glovebox can be misplaced during handover, and so on.
Step Four: Check That The Vehicle Is Mechanically Ready For Loading
The next stage is to make sure the vehicle can actually be loaded into its container, and secured in the way the shipment requires. This is a practical check rather than a full workshop inspection, but it does need to cover the basics that affect safe movement into and within the container. For example:
- Fuel level should be brought into line with the carrier’s instructions.
- Tyres should be inflated sufficiently for the vehicle to be positioned correctly in its racking.
- The battery should be in a condition that supports loading, or managed according to operator instructions if disconnection is required.
- Alarm systems may need to be disabled.
- Any fluid leak, even a minor one, should be identified before loading begins. A small oil drip can be enough to delay acceptance, particularly if the vehicle is due to stand in a shared loading environment.
This final review acts as the operational gate between preparation and loading. If it is done properly, the loading team should not need to correct basic issues the container side.
Step Five: Load The Vehicle Onto Your Racking System And Into The Shipping Container
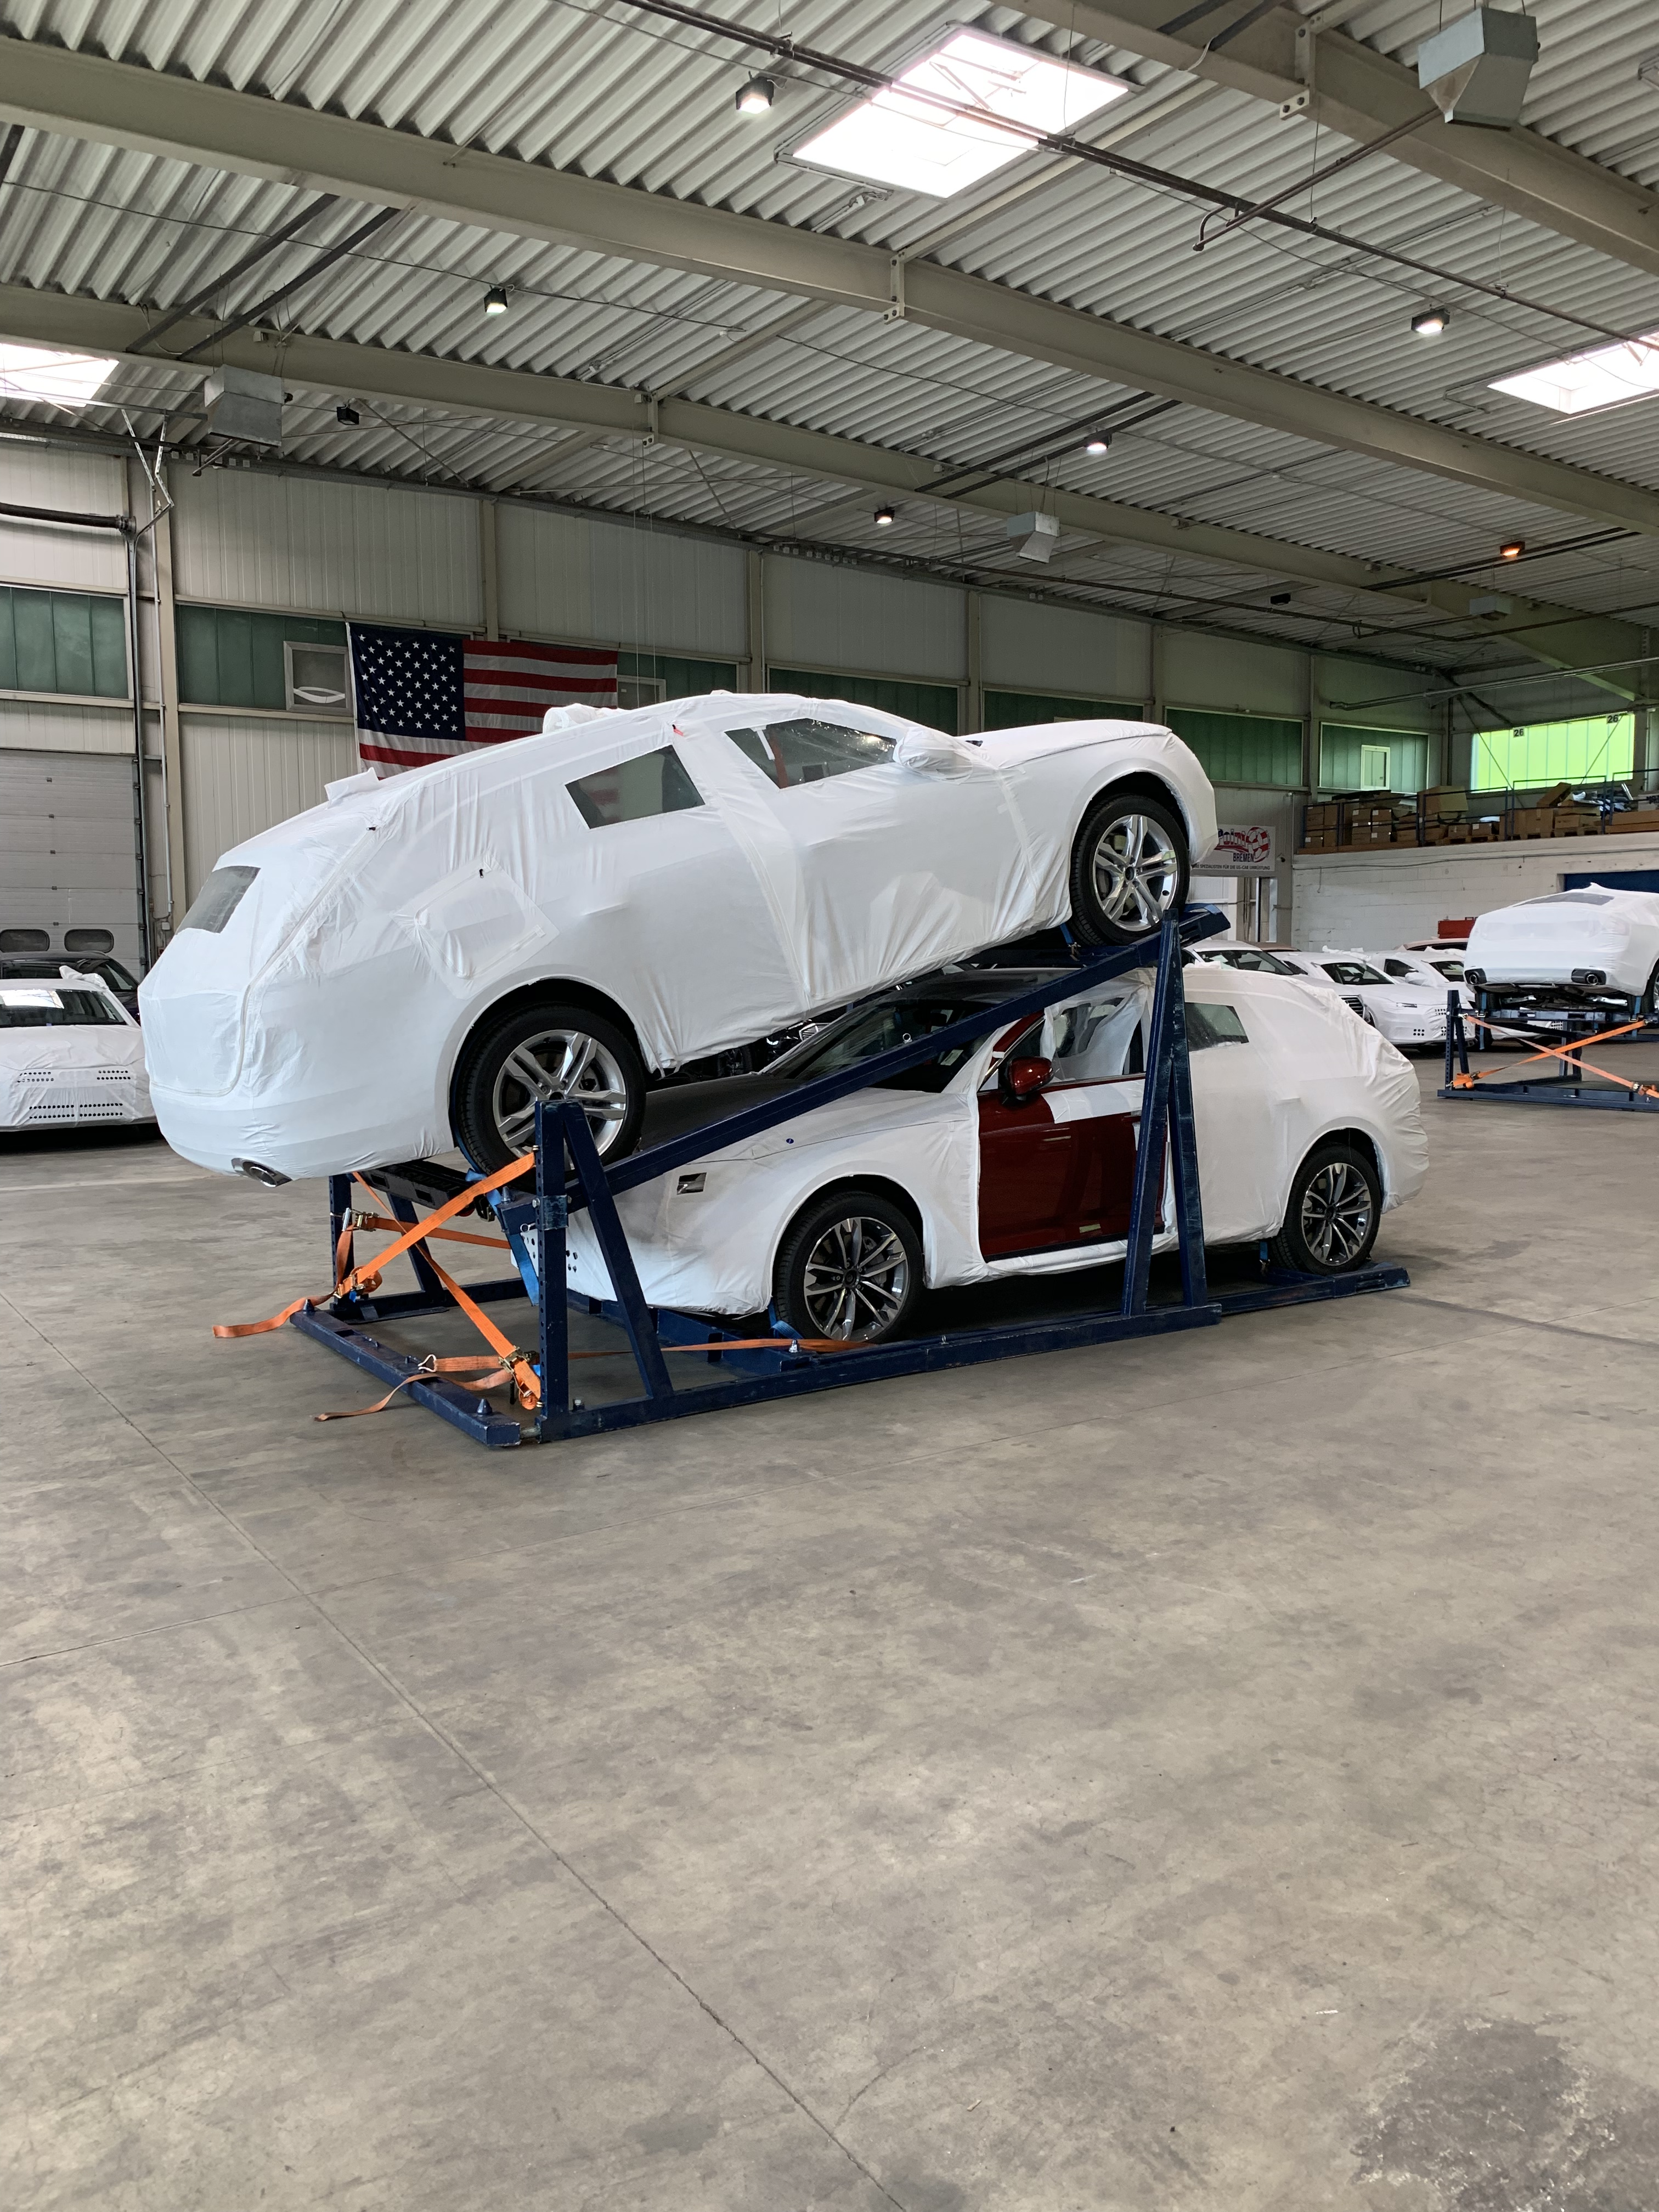
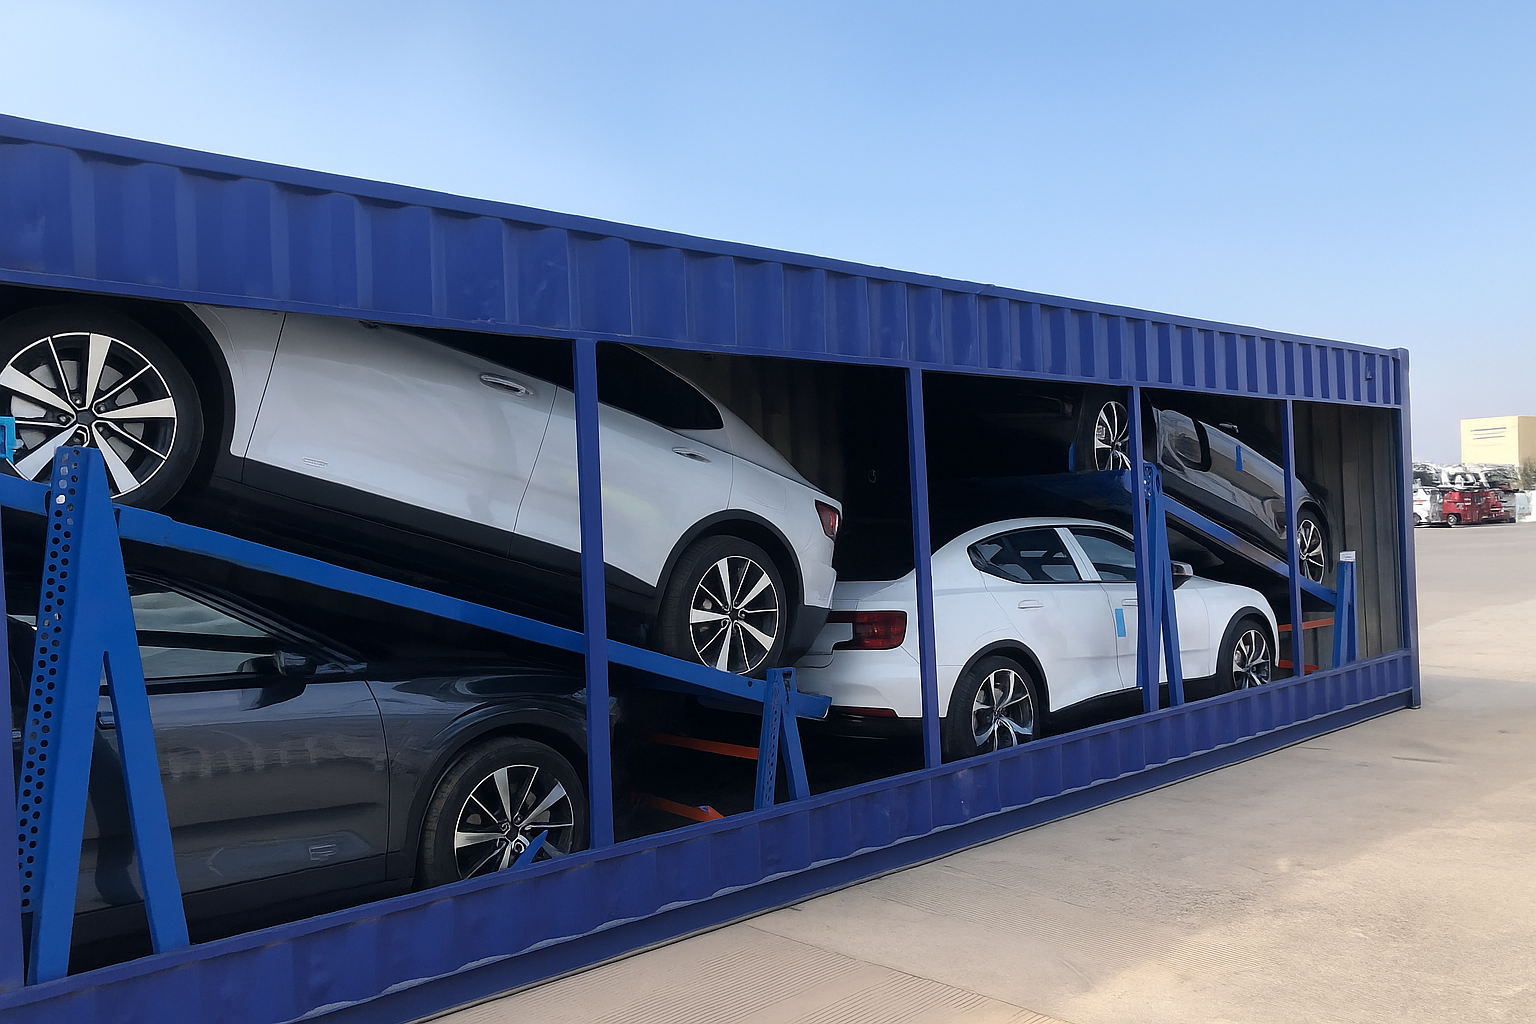
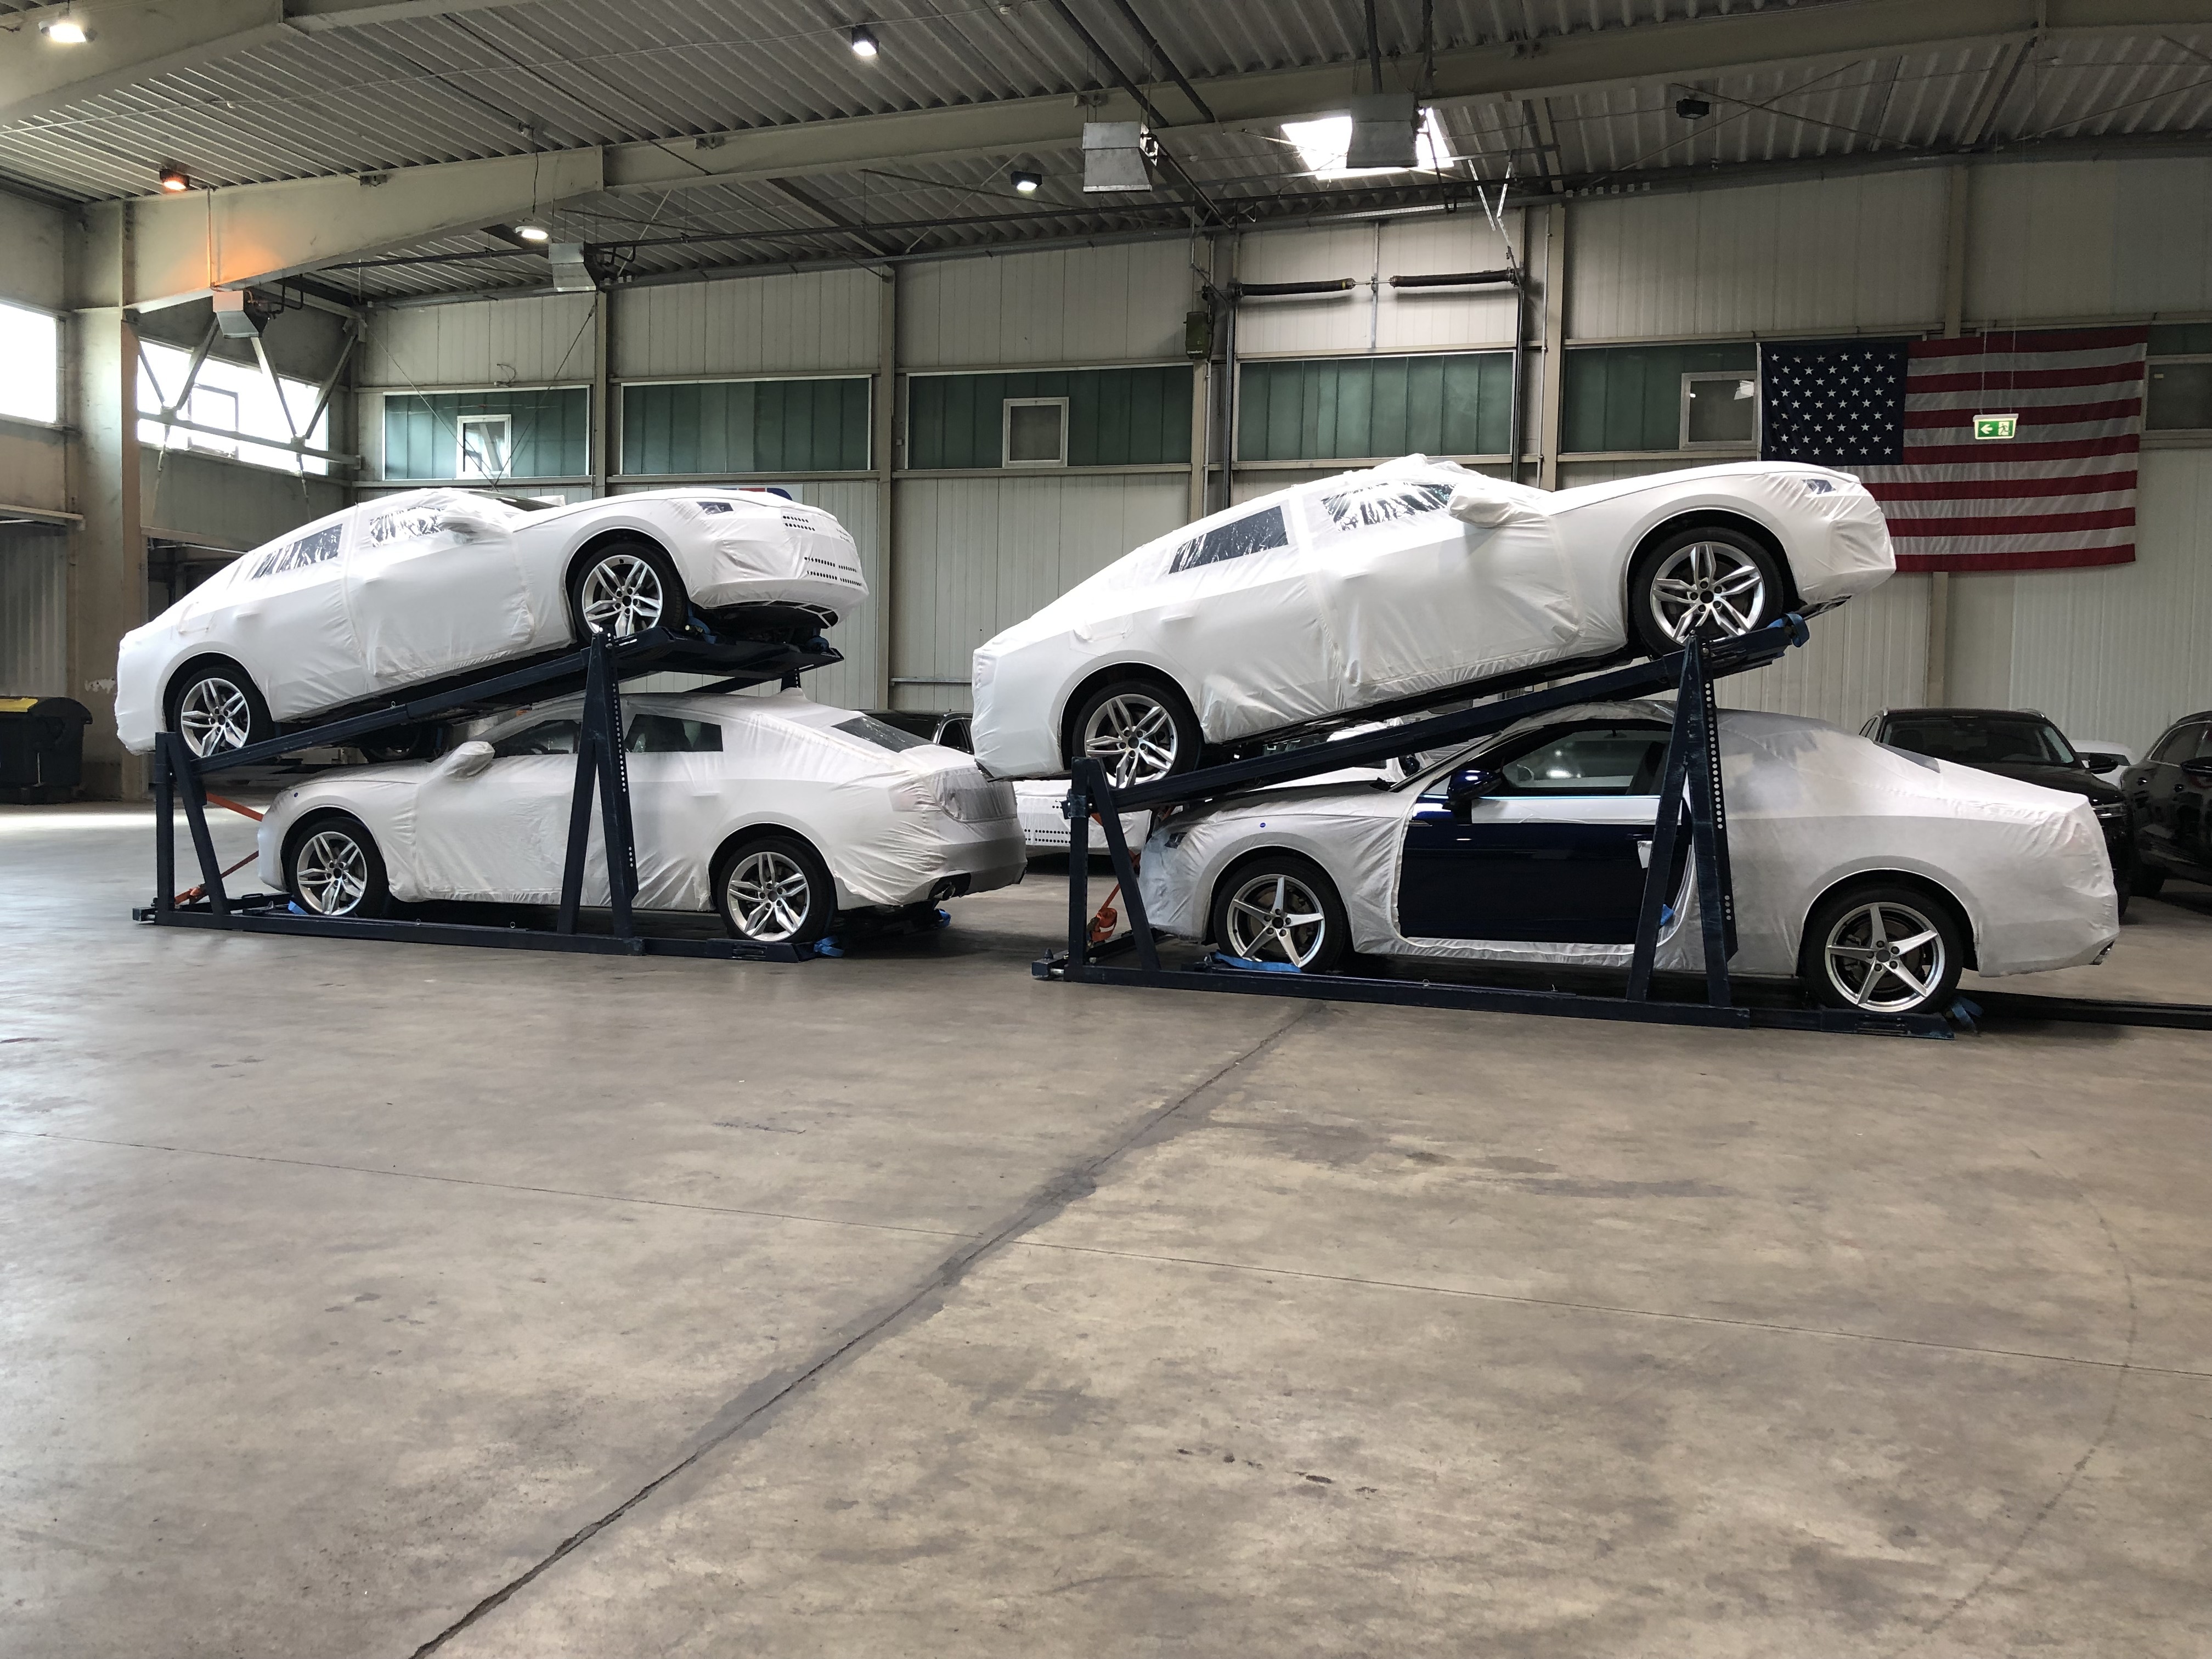
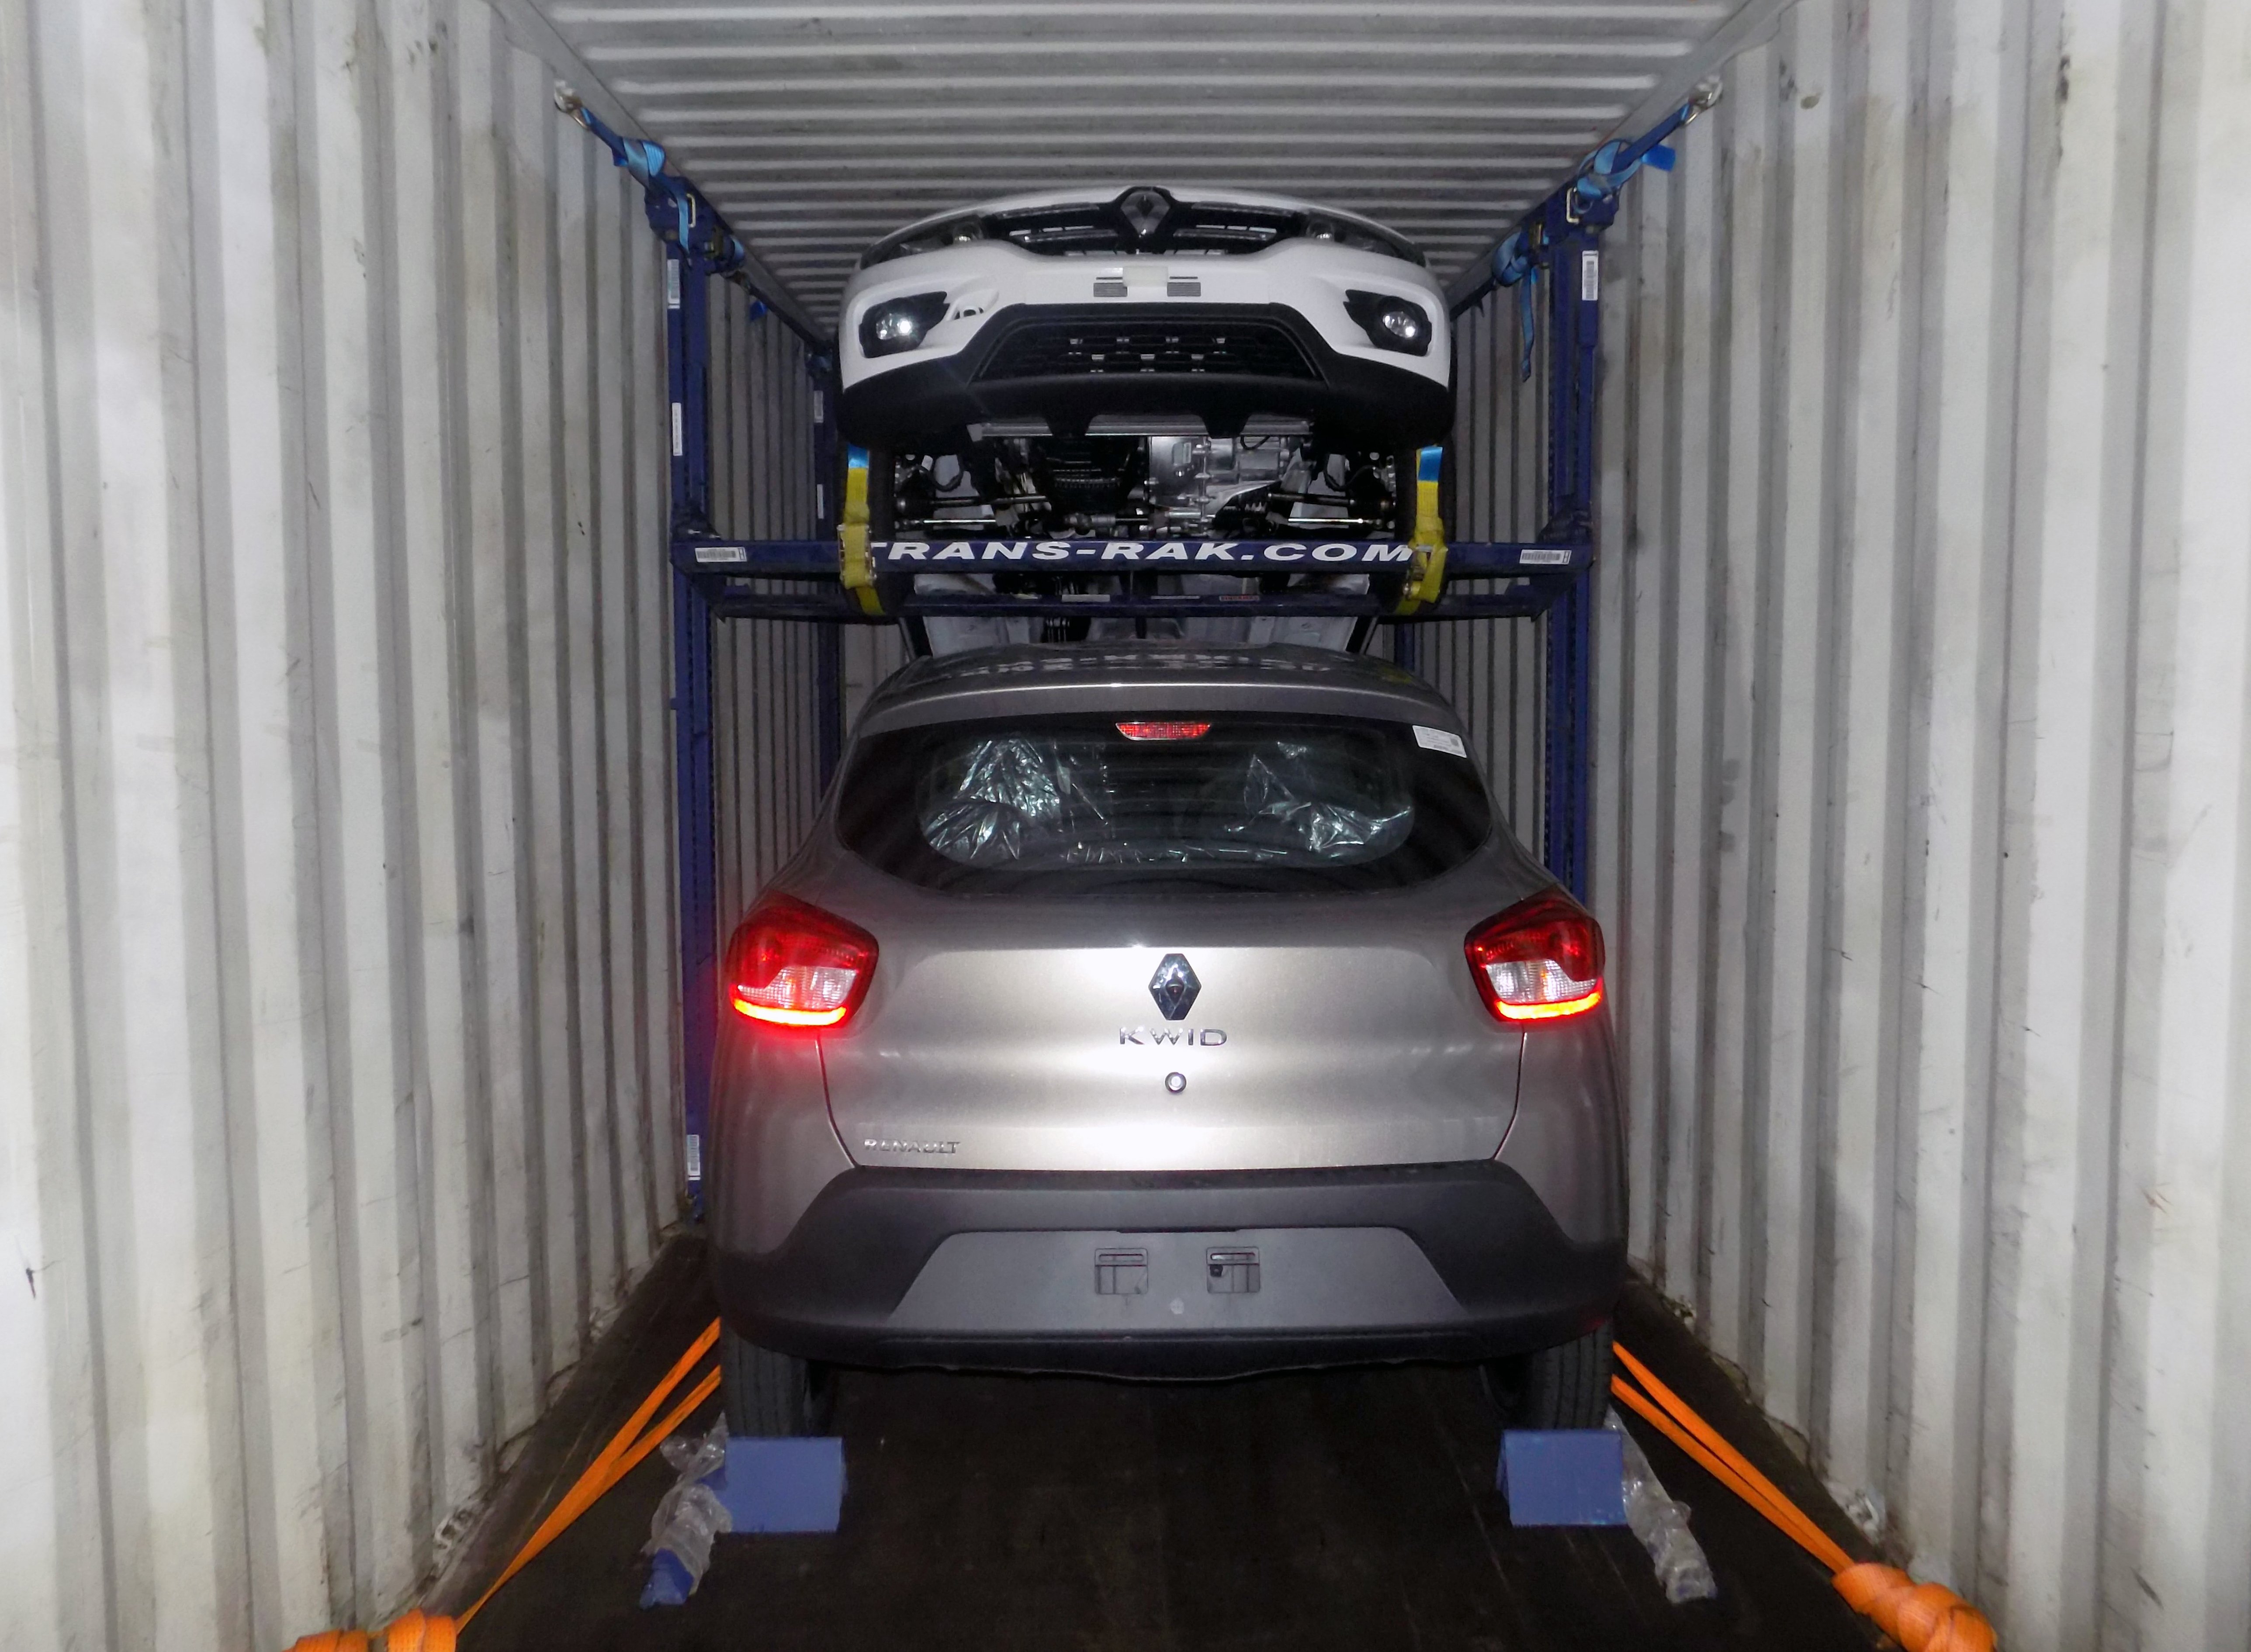
When a vehicle is loaded using Trans-Rak’s EL-RAK racking system, the process is carried out in two stages: positioning the vehicle on the rack, and then rolling the loaded rack into the container. The rack is first set on level ground and adjusted to suit the vehicle’s size. The vehicle is then driven slowly onto the lower platform.
Once positioned, the wheels are secured using lashing points built into the rack, preventing any forward, backward, or lateral movement. After the vehicle is secured, the rack itself is lifted, typically by forklift, and aligned with the container opening. It is then pushed into the container and fixed in place using container lashing points to prevent movement during transit. A second vehicle may be positioned beneath the lifted vehicle in the same way, with careful attention to height clearance. The key requirement throughout is that both the vehicles and the rack are independently secured, so that neither shifts under load while the container is being handled or transported.
Next Steps
If you are reviewing your current container loading methods or planning a new automotive logistics setup, Trans-Rak can help. Please get in touch to learn more about racking solutions tailored to real-world vehicle transport requirements.
Preparing a vehicle for container shipping requires more than basic loading checks. Proper planning helps reduce risk, avoid delays, and protect the vehicle throughout transit.
Our latest article provides a step-by-step guide to the preparation process, covering inspection, securing methods, documentation, and key pre-shipment considerations.